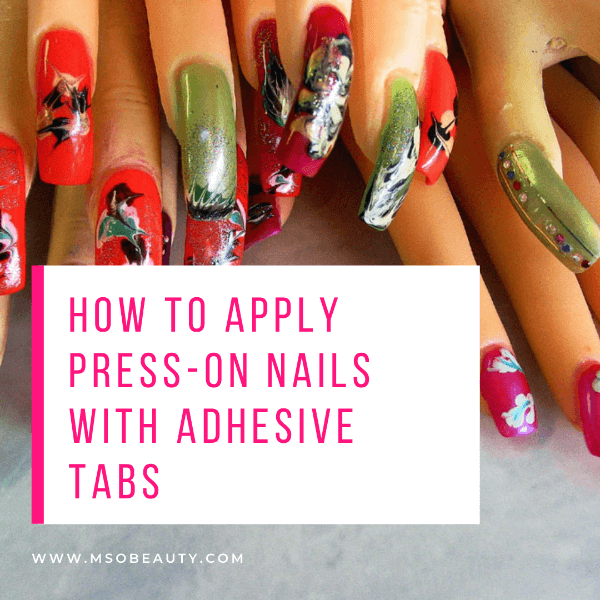
How to apply press on-nails with adhesive tabs and what are they needed for?
If you can’t go to a salon and want to create a gorgeous manicure in a matter of minutes then press-on nails with adhesive tabs is a great way to do that.
These nails come already premade and you can choose the design and length you want and just stick them on instead of sitting doing your nails for hours. Plus, they are also very easy to remove.
So today I’ll show you how to apply press-on nails with adhesive tabs for a super-quick manicure.
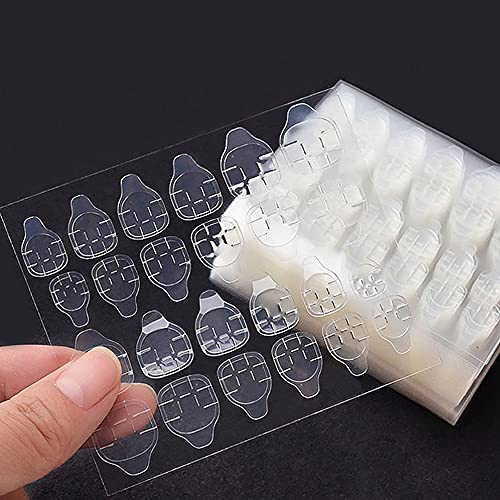
Adhesive tabs for press-on nails
Let’s jump right in!
There are two ways of how to apply press-on nails. You can either use adhesive tabs or special glue for press-on nails.
If you use glue your press-on nails can last for a week or even several weeks.
But the downsides of the glue application method are that these nails are harder to remove and that you won’t be able to reuse them.
Adhesive tabs work like double-sided scotch tape.
They make the application of press on nails a breeze. And even though these nails will only stay for up to 4-7 days, you can remove and reuse them easily.
Using press-on nails with adhesive tabs is great when you need to wear your nail design for a special occasion.
After you remove them, just put them back into their storage box and reuse them for another occasion.
How to apply press-on nails with adhesive tabs
Prepare your nails
Cut your nails down with nail clippers or file them down with a nail file for natural nails.
Try to cut or file them down to the shortest length you can.
This is necessary for your press-on nails to sit on your natural nail plates properly.
This is also necessary to prevent the natural free edge from sticking from the sides of your press-on nails.
For example, if you have square natural nails and want to apply stiletto press-on nails the corners of your real nails may stick out from the sides on your stiletto nails. This will look pretty bad.
If you want to keep some length of your own nails anyway choose square press on nails that will cover your nail plates completely.
Push back the cuticles with a cuticle pusher or an orangewood stick.
This is necessary to get your nail plate rid of any dead skin.
The absence of dead skin will help the press-on nails stay better when you place them on the adhesive tabs.
If there is any dead skin left on the nail plate it may prevent the tabs from adhering to the nail properly and will cause lifting.
You can use a cuticle remover to soften the cuticles and push them back with a cuticle pusher or an orange stick.
You can also lift the cuticles a bit to create a pocket under them and this will let you slide the press on nails a bit underneath the cuticles for a more natural look.
Buff each nail plate slightly with a soft nail file or buffer to remove the top shiny layer off your nails.
This is necessary to help the press on nails to adhere to your natural nails better.
Be careful! Don’t file off too much. You don’t want to damage your nails or make them too thin.
You can also buff the inside of your press-on nails slightly to make them adhere better too.
And some press on nails even come pre-buffed.
Brush away the dust and debris that gets left on the nails after the nail filing, buffing, and cuticle removing processes.
Use a nail cleaning brush for that.
Wash your hands thoroughly.
This is necessary to remove any dirt, debris, or oils from your nails because they may prevent the adhesive tabs from sticking to your nail plates.
Cleanse and dehydrate your nail plate with 99% Isopropyl alcohol or a special nail cleanser liquid.
This will remove any remaining dust, natural oils, or bacterial from your nails and further help your artificial nails to stick to your natural nails.
You can even use a special dehydrator liquid for gel nail polish and acrylic nails.
It will remove moisture and oils from your nails and will increase the longevity of your press-on manicure.
Now you can apply your press-on nails with adhesive tabs.
There are two ways how to apply press-on nails with adhesive tabs
You can apply the tabs to your natural nails first and place the artificial nails over them.
Or you apply the adhesive tabs inside the press-on nails first and place them on your natural nails.
How to apply press on nails with adhesive tabs by placing the tabs on the natural nails first
If you want to place the tab on your natural nail first and then apply the press-on nail over it you’ll need to select the size of the tab that fits your natural nail best.
Take the tab and apply it to your nail plate.
Place it right next to the cuticles and align it with the cuticle line.
Make sure the tab sits straight.
Press it down to get rid of any air pockets under the tab so that it sticks properly to the entire nail plate.
Remove the protective film off the tab to reveal the adhesive layer for the press-on nail.
Take the press-on nail and align it to the cuticle area, slide it underneath the cuticles a bit, make sure it sits straight and push it down very firmly into your nail plate for about 20-30 seconds to make it stick well.
How to place the adhesive tabs inside the press-on nails first
If you want to place the adhesive tab inside the press-on nail first you’ll need to apply that tab to the inside of the artificial nails.
Then remove the protective film from the adhesive tab on the other side.
After that, apply that nail to the natural nail plate aligning it to the cuticle line of the nail and sliding it into the cuticle pocket.
When it looks fine and sits straight just press the artificial nail down.
Keep pushing it pretty hard against your natural nail for about 20-30 seconds.
This will help you to eliminate any air pockets under the adhesive tab so your press-on nails won’t fall off easily.
How to keep press-on nails with adhesive tabs from falling off
If you’ve done everything right your press-on nails will stay on surprisingly well even with adhesive tabs.
They are not meant for being worn for a long time but you can safely wear them for a few days.
Just avoid doing stuff like opening cans with your nails, for example.
It would hurt pretty bad if you rip them off accidentally.
You can do household chores, take a shower, and even wash dishes with them.
However, warm water does loosen them up. So you can place these nails in water when you are about to remove them.
Or if your nails have loosened with water let them dry under cool air to let the glue harden a bit.
Since heat loosens up the glue avoid using press-on nails with adhesive tabs in a hot tub, sauna, on a beach, etc.
How to remove press-on nails with adhesive tabs
Soak your fingers with your press-on nails that are attached with adhesive tabs in warm water for a few minutes.
This will heat the tabs and loosen the glue on them.
Then the nails will come off really easily.
You can just use a cuticle pusher or orange sticks to gently loosen the press-ons and to pop them off your natural nails. Just don’t push too hard to avoid damaging your nails.
Dry your press-on nails up.
Then clean the artificial nails from the remaining adhesive material using Isopropyl alcohol and put them away in a box until the next use.
Recommended reading:
Best Professional Gel Nail Polish Brands Used In Salons
Non-Toxic Gel Nail Polish Brands 101: Choose The Safest Gel Nail Polish
Overlay Nails 101: Acrylic And Gel Nail Overlay On Natural Nails – The Ultimate Guide
Why Are My Gel Nails Lifting? 15 Reasons Why Your Gel Polish Is Lifting
Best No Light Gel Polish — Gel Nail Polish Without UV Light
Most Popular Shellac Colors – The Ultimate List Of 15 Best Shellac Colors For Fantastic Manicures
13 Best Korean Night Cream Products That Are Popular For A Reason
Best Gel Base And Top Coat: The Updated List Of The Best Gel Nail Base And Top Coat Sets
Best Small Salon Reception Desk For A Tight Space: Make An Amazing First Impression!
Nail File Grit Guide And Chart
13 Best Korean Snail Serum Products That May Seem Too Good To Be True
Best Nail Dehydrator And Primer: The Ultimate Guide
12 Best Polygel Nail Kit Reviews And How To Apply Polygel At Home
10 Best UV and LED Nail Lamp Units For Gorgeous Gel Nails
7 Best Korean Peel-Off Mask Products For Improving Skin Texture
How To Shape Almond Nails — The No Nonsense Guide
11 Best Nail Files For Natural Nails That’ll Make Nail Shaping Easier
Nail Shapes Chart And Types Of Nail Shapes 2021 — The Ultimate Guide
10 Best Korean Cleansing Balm Products That’ll Probably Be Your New Skincare Secret
15 Best Korean Foam Cleanser Products For All Skin Types
7 Best Magnets For Nail Polish To Help You Create Stunning Cat-Eye Nails
10 Best Nail Polish Pens And Pen Sets To Make Easy Nail Art At Home
14 Best Nude Gel Nail Polish Colors For Every Skin Tone
How To Remove Gel Nail Polish From Acrylic Nails Without Ruining Them: 2 Proven Ways
How To Thicken Nail Polish For Stamping Easily?
Do I Need A Base Coat For Gel Nails? Here’s The Answer!
Do You Need A UV Lamp For Acrylic Nails?